


Merchant Payment Failed? Quick Checklist Before You Try Again
Guide ensures credit balance, network issues, session timeouts, and how to reattempt safely.
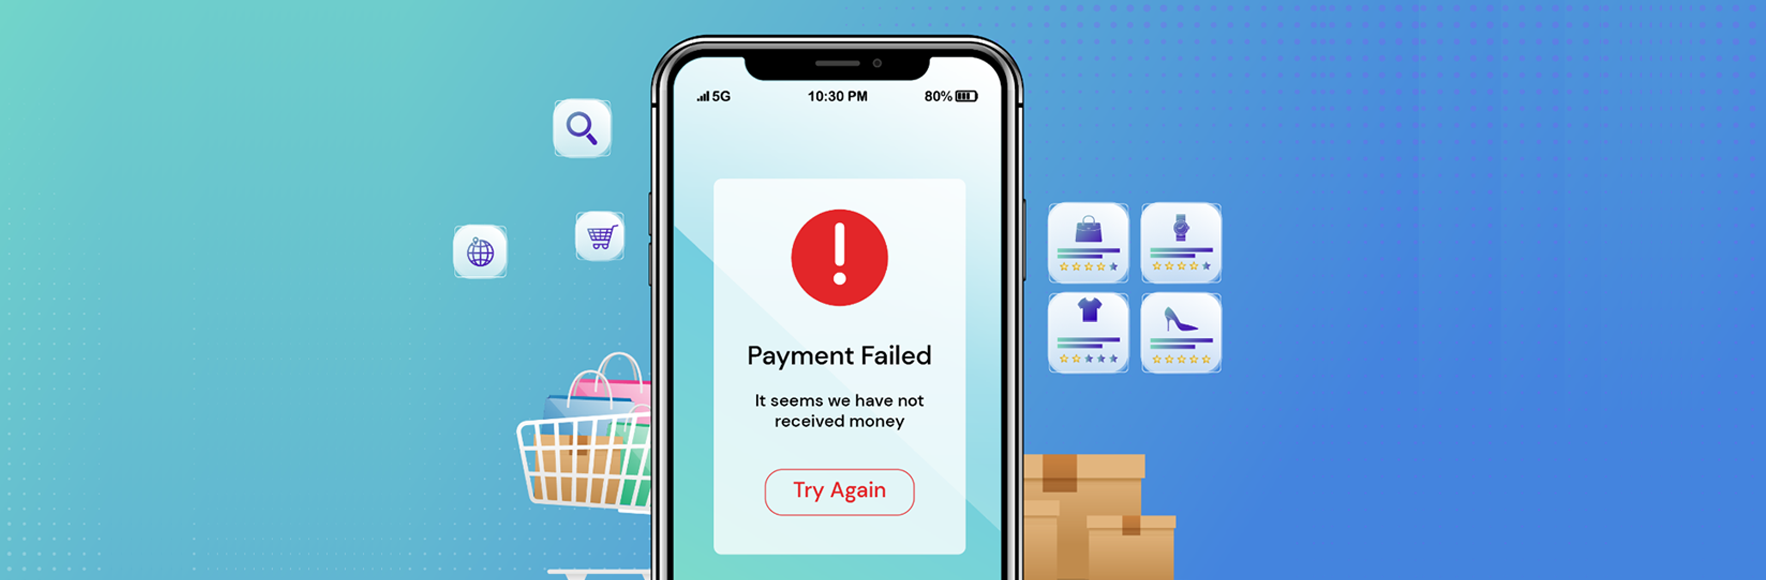
So, your merchant payment didn’t go through? No stress. Whether it was a glitch, a timeout, or something as simple as a low balance, the good news is: that most issues can be resolved in just a few steps.
In this guide, we’ll walk you through a quick but thorough checklist to help you understand what went wrong — and how to safely reattempt your purchase.
Whether you’re a long-time user or just getting started, knowing how to handle common hiccups like payment failures can save you time and ensure a smooth shopping experience.
Let’s break it down together.
Why Might Your Merchant Payment Fail?
When you’re buying Merchant Credits from your favorite stores, several things can cause a hiccup. Here’s what to check before trying again.
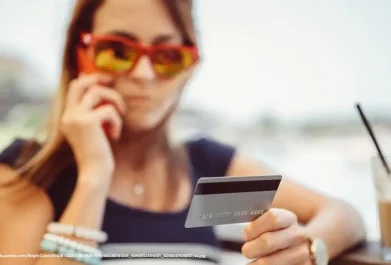
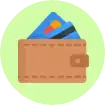
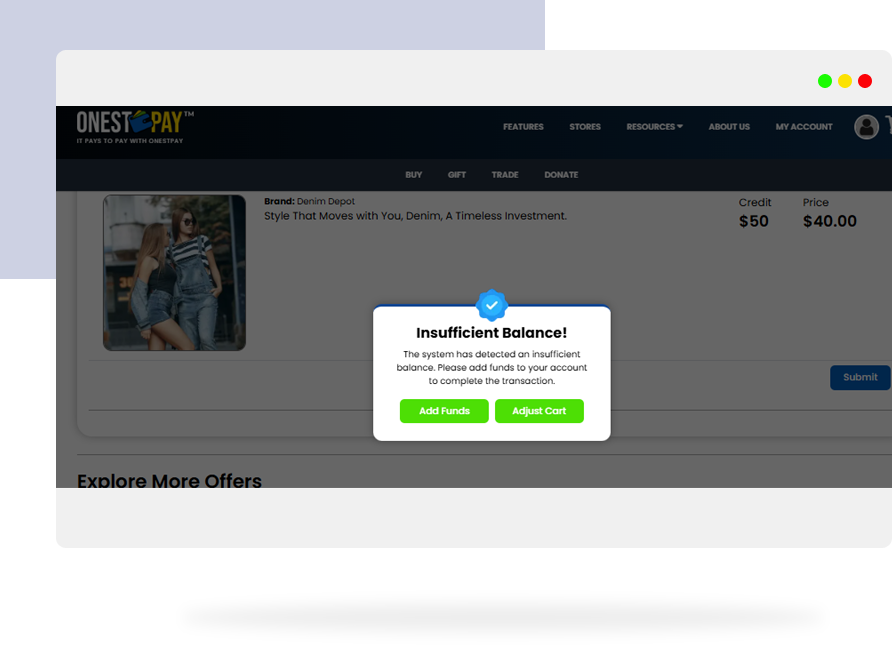
01 Step 1: Check Your Credit Balance
First things first—do you have enough funds?
- Head to your Balance Page to review your available Merchant Credits.
- If your credits aren’t enough, OnestPay™ will automatically use your linked bank account to top up. Still, it’s good to confirm.
02 Step 2: Refresh the Session — Timeouts Happen
If you’ve been browsing for a while, your session may have timed out.
- Log out and back in to reset your session securely.
- Visit the Buy Page again and re-select the credit package you were trying to purchase.
Pro Tip: OnestPay™ times out inactive sessions for your security. Always double-check before reattempting a payment.
Step 3: Network Glitch? Quick Diagnostics
Unstable internet is one of the biggest culprits of failed payments.
- Refresh your browser or app.
- Switch to a stronger Wi-Fi or mobile network before retrying.
- Clear your browser cache if the problem persists.
Pro Tip: Avoid using public Wi-Fi when handling payments for better security and reliability.
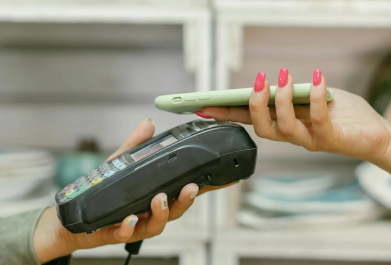
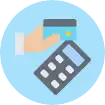
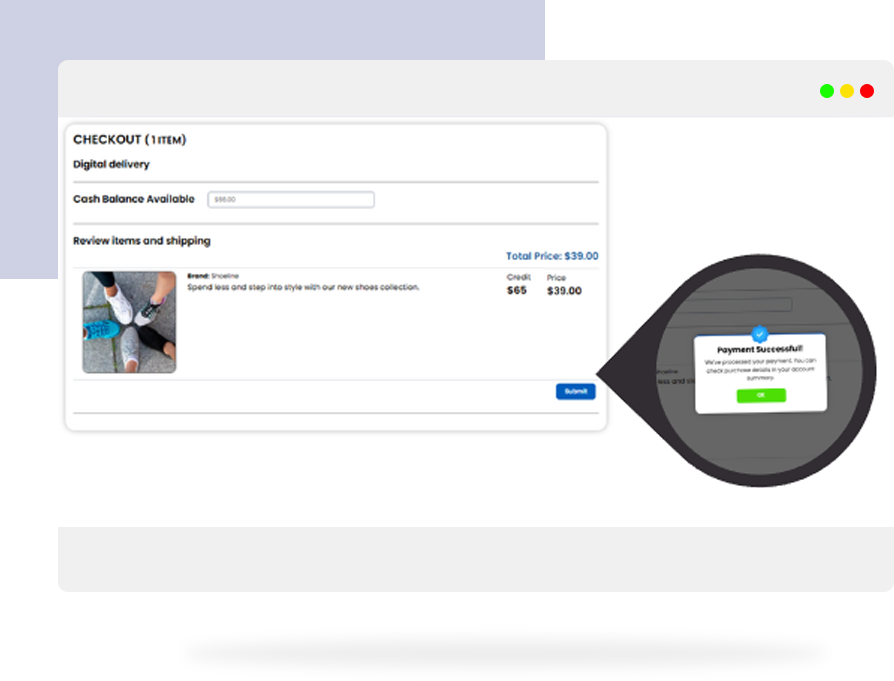
03 Step 4: Reattempt Payment — The Safe Way
When retrying a failed payment, don’t just hit the back button.
Here’s the right way to reattempt:
- Go to Buy Merchant Credit.
- Select your desired store deal
- Double-check your payment method and balance.
- Confirm the purchase—look for the success notification.
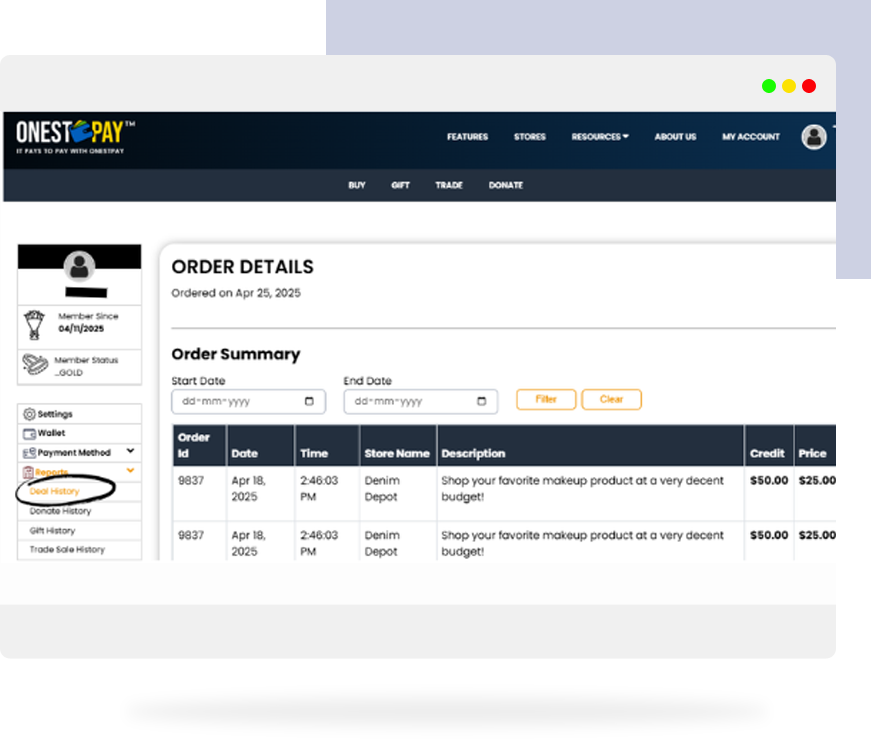
04 Step 5: Track and Manage Your Purchases
Stay in control by keeping tabs on all your transactions:
- Visit your Transaction History to confirm your payment status.
- Use the built-in dashboard to view credits purchased.
Now that you’ve checked everything off the list and are ready to make your purchase. Here’s exactly how you can buy Merchant Credits on OnestPay™.
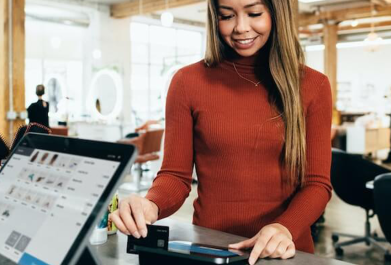
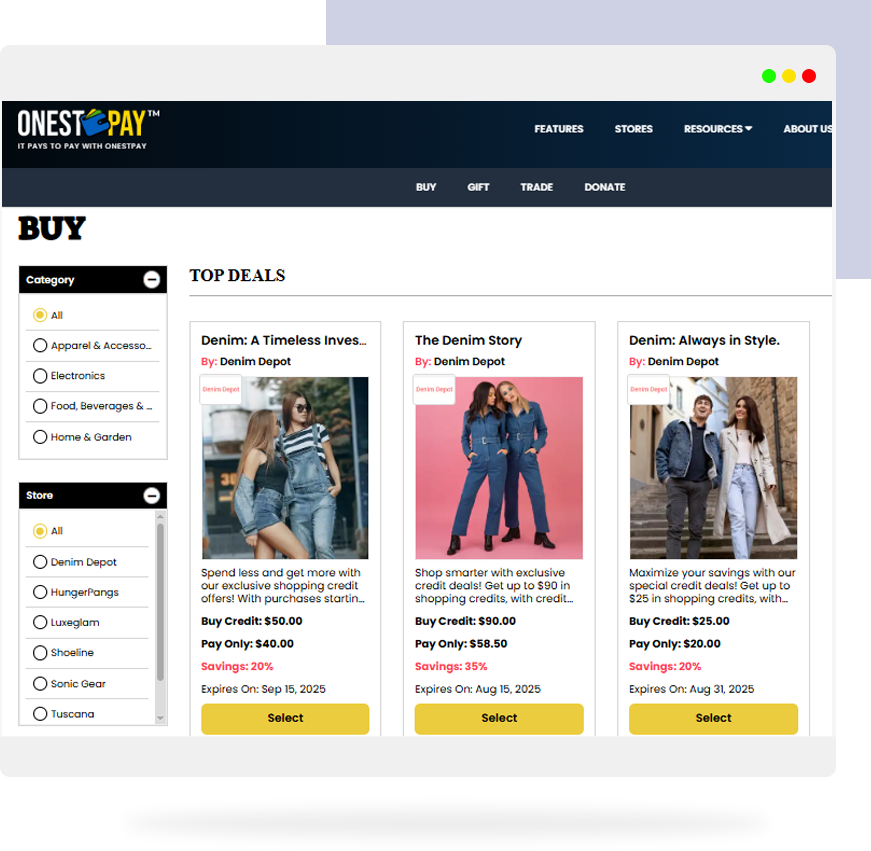
05 How to Buy Merchant Credits?
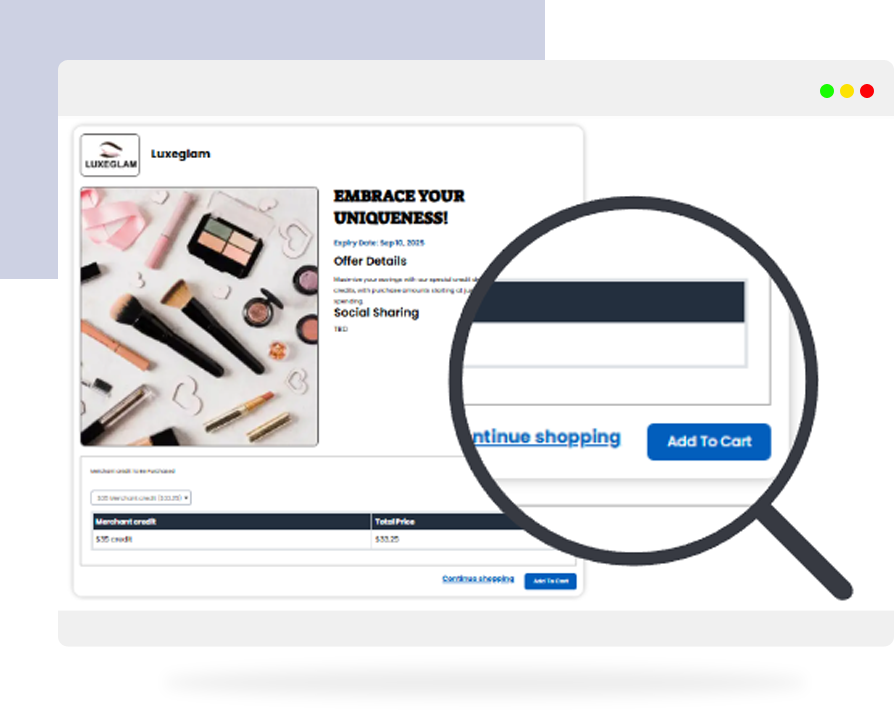
Buying Merchant Credits is easy once you’re ready:
- Visit the Buy
- Browse curated credit deals from local favorites and big brands.
- Click ‘Add to Cart’ on your chosen deal.
- Next ‘Proceed to Checkout’. Pay using your OnestPay™ Wallet or linked bank.
Note: To dive deeper into how buying credits works, check out our guide: What Are Merchant Credits & How to Buy Them on OnestPay™?
Avoid Future Payment Failures
To make sure you glide through your next payment:
- Keep your OnestPay™ app updated.
- Maintain a stable network during transactions.
- Review merchant credit limits and deal conditions.
- Use the built-in chat support for instant help if stuck.
It Pays To pay with OnestPay™
We built OnestPay™ not just to make payments easier, but smarter. When a transaction doesn’t go as planned, use this guide to troubleshoot quickly, safely reattempt, and get back to enjoying those merchant deals.
You deserve a smooth, rewarding experience every time.
Ready to give it another go? Head to onestpay.com.