


Donation Failed or Not Reflected? Here’s How to Get Support
Guide to tracking, verifying, and fixing donation issues.

If you’ve recently made a donation on OnestPay™ and it didn’t go through, don’t worry. We’ve built this guide to help you troubleshoot common issues like failed transactions or simply check where your donation went.
Let’s walk you through everything you need to know to track and verify donation-related issues within OnestPay™.
First Things First: Was the Donation Successfully Deducted?
Before we dig into troubleshooting, check if the donation amount has been deducted from your OnestPay™ Balance.
- Log into OnestPay™.
- Go to the Balance
- Look for recent activity under Donate History.
- If the amount is not deducted — the donation likely didn’t go through due to session timeout or network issues.
If the amount is deducted — move to the next section.
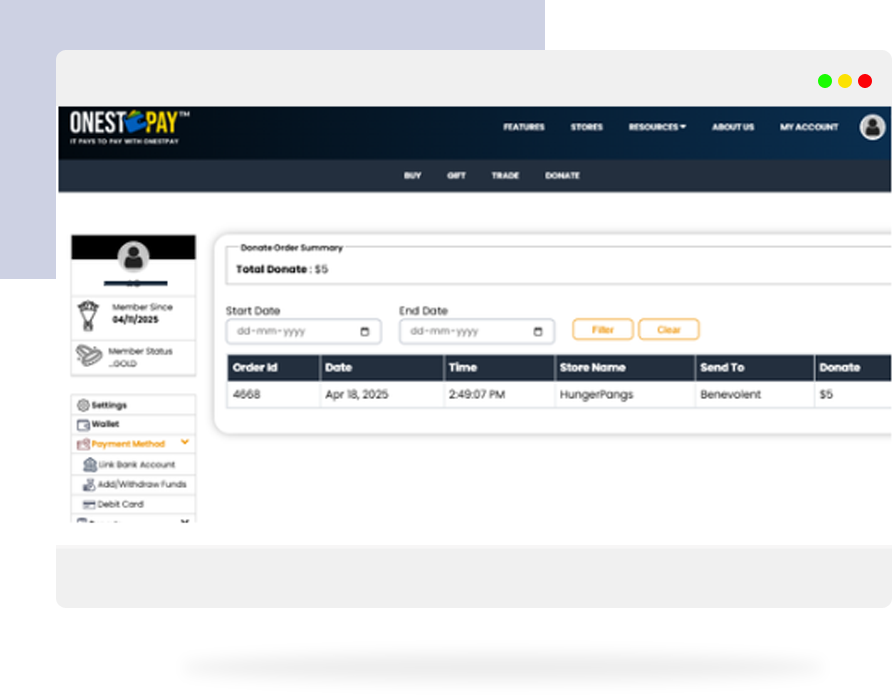
01 View Your Donation History
It’s easy to track where your credits are going.
Go to My Account
Click on Donate History to see:
- Recipient charity or user
- Amount donated
- Date & Time
Tip: Filter by “Last 7 Days” or “Custom Date” to find specific donations.
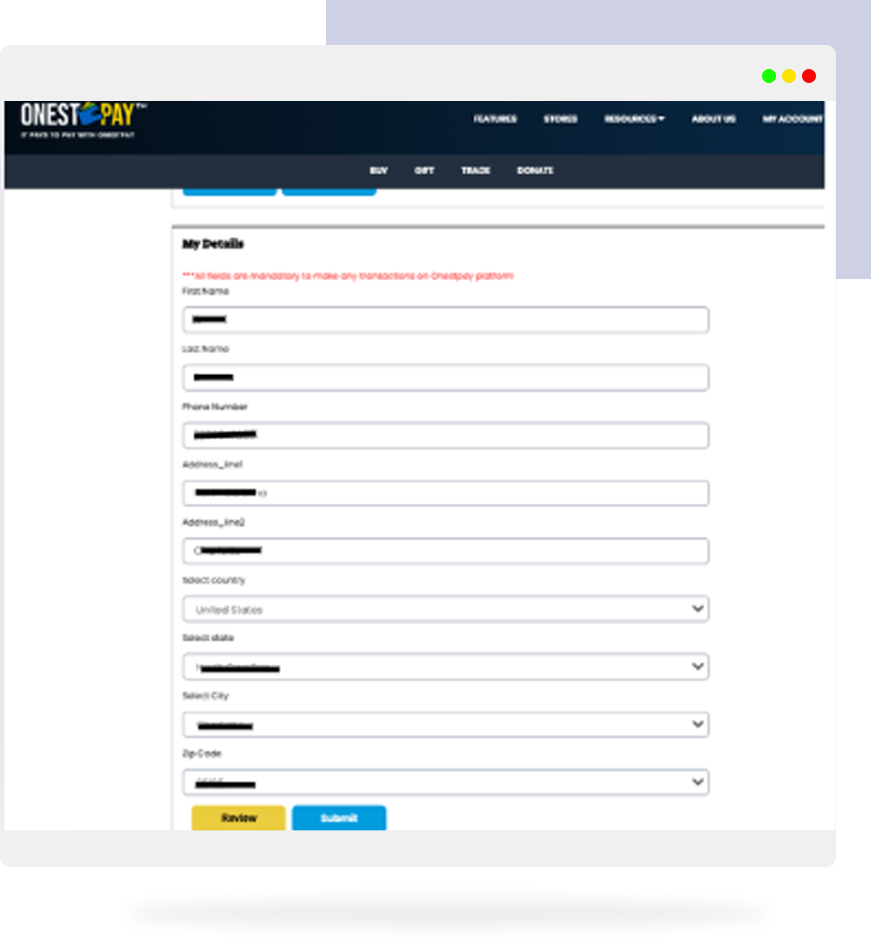
02 Is Your MFA Complete?
Incomplete Multi-Factor Authentication (MFA) can block transactions like donations or transfers.
To check:
- Visit My Account.
- Ensure both Phone & Email Verification are complete.
Note: Incomplete MFA is one of the top reasons for donation failures or credit usage blocks.
Network Issues or Session Timeout?
If you donate during slow connections or app inactivity can get stuck.
Here’s what to do:
- Refresh the donation page after a failed attempt.
- Avoid using the back button during the donation flow.
- Re-attempt the donation if your credit balance is unchanged.
- Always check your transaction confirmation.
Pro Tip: Avoid idle sessions. Log in fresh before making donations.
Ready to support a cause? Here’s how to donate seamlessly using OnestPay™.
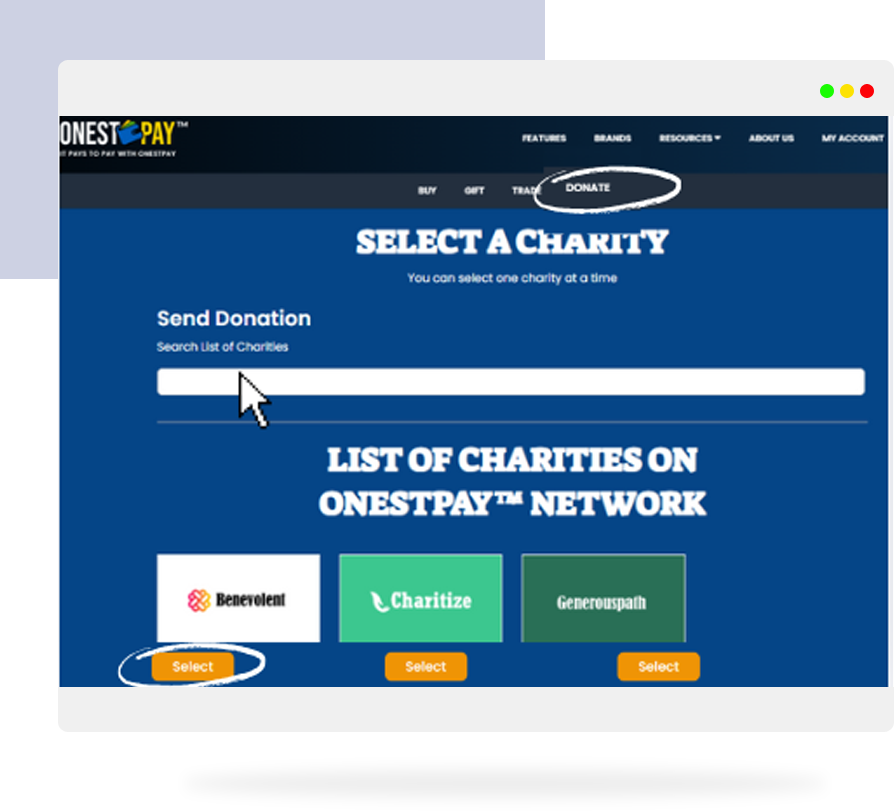
03 How to Make a Donation?
Here’s a quick step-by-step to donate with confidence:
- Go to the Donate Page.
- Browse the list of verified charities.
- Select the cause you want to support.
- Select credit and donate.
You’ll receive a confirmation and your receipt will be available under “Donation History.”
Note: Check out our detailed guide: Make a Bigger Impact with Just One Tap | Donate via OnestPay™.
Donation Reversal & Refunds
If you accidentally donate to the wrong charity, please note:
- You cannot reversed donations once processed.
- Ensure you verify details before confirmation.
OnestPay™ verifies all charities listed — rest assured your credits are going to a valid cause.
Final Checklist for Smooth Donations
Before hitting ‘Donate’:
- You have enough Merchant Credits.
- Completed MFA.
- Stable network connection.
- Your session hasn’t timed out.
- Double-checked the charity name.
OnestPay™ | Smarter Way to Support What Matters
OnestPay™ makes donating simple, secure, and rewarding. If something goes wrong—like a failed donation—you now know exactly what to check. From viewing your donation history to ensuring your MFA is complete, this guide has you covered.
Remember, every credit counts. And with OnestPay™, you’re not just giving—you’re creating impact in real-time.
Thanks for using OnestPay™.