


Buying Credits from Others: Quick Walkthrough Trade Practices
A Simple Step-by-Step Guide to Smart Peer-to-Peer Credit Trading on OnestPay™
If you’ve ever wished to make the most out of your unused merchant credits — or snag great value deals from fellow shoppers — you’re in the right place.
Welcome to the Trade Page on OnestPay™, where buying credits from others is just as easy (and secure!) as a few taps on your screen. Whether you’re picking up restaurant credits, boutique brand deals, or everyday essentials, this walkthrough will show you how to shop smarter, spend less, and discover exclusive credit offers posted by fellow users.
Let’s take a quick tour — one step at a time.
Why Trade Credits with Others?
OnestPay™ was built for flexible, social-first finance, and the Trade feature takes that mission further. Here’s what makes it shine:
- Buy credits at better value from other users.
- Real-time peer-to-peer transactions, no middlemen.
- Browse offers posted by users across trusted merchant brands.
- No extra fees. No expiry hassles. Just great deals.
Whether you’re stocking up or shopping around, here’s how to buy credits like a pro on the Trade Page.
Step-by-Step Guide to Buying Credits from Others
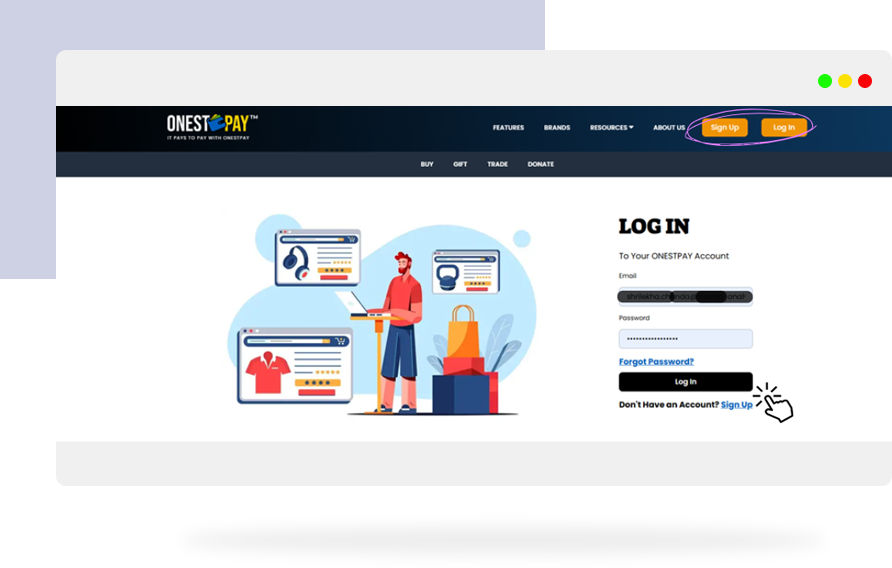
01 Sign In to Your OnestPay™ Account
Head over to onestpay.com and log in with your registered email or credentials.
Don’t have an account yet? No worries — signing up is quick and free.
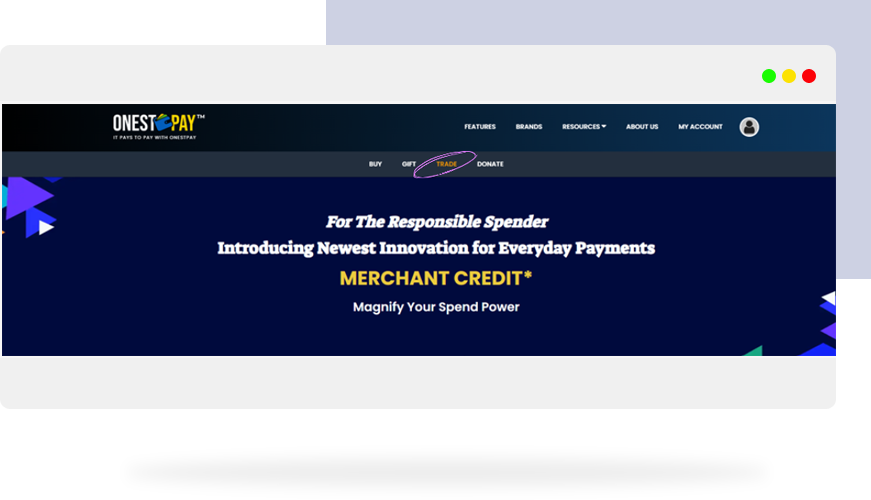
02 Head Over to the ‘Trade’ Page
Once you’re logged in, click on the “Trade” option in the top navigation bar.
This is your gateway to explore all credit trade activity — from buying to selling.
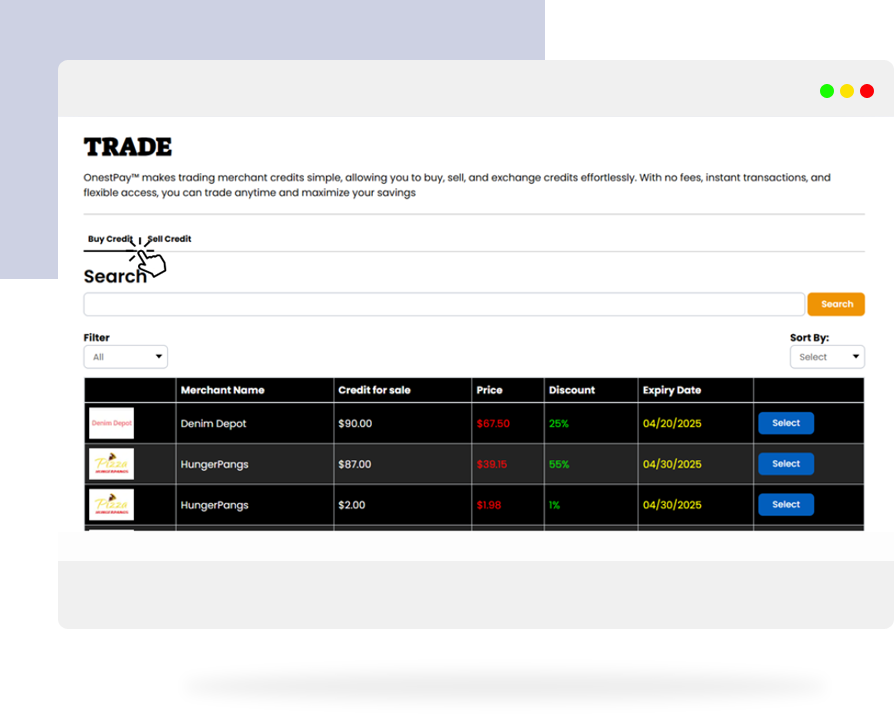
03 Select ‘Buy Credit’
This takes you straight into the buyer’s dashboard.
Here, you’ll find:
- Available merchant credits listed by other users.
- Current credit values.
- Easy options to filter, sort, and select.
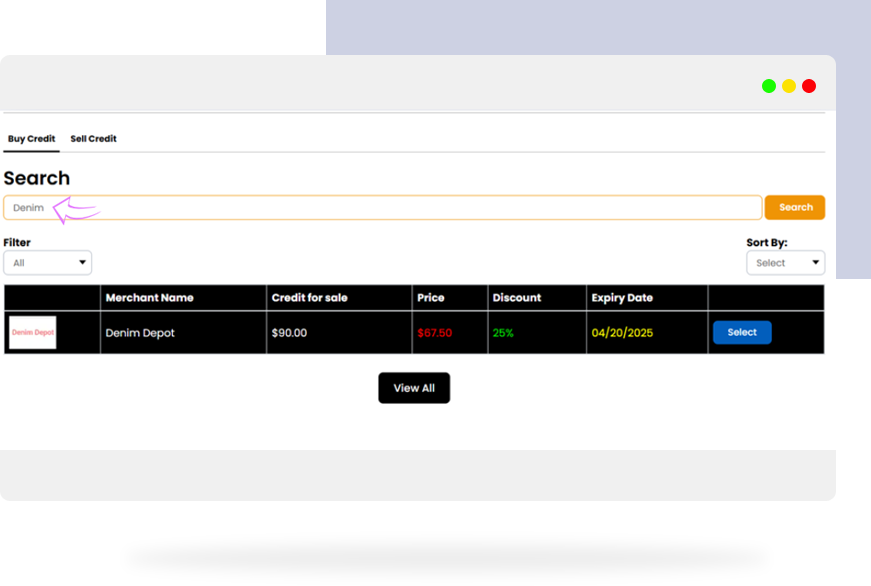
04 Use the Search Bar to Find a Specific Merchant
Know exactly which merchant you’re looking to buy from?
Just type the brand or merchant name into the search bar. OnestPay™ will fetch available credits listed for that store in seconds.
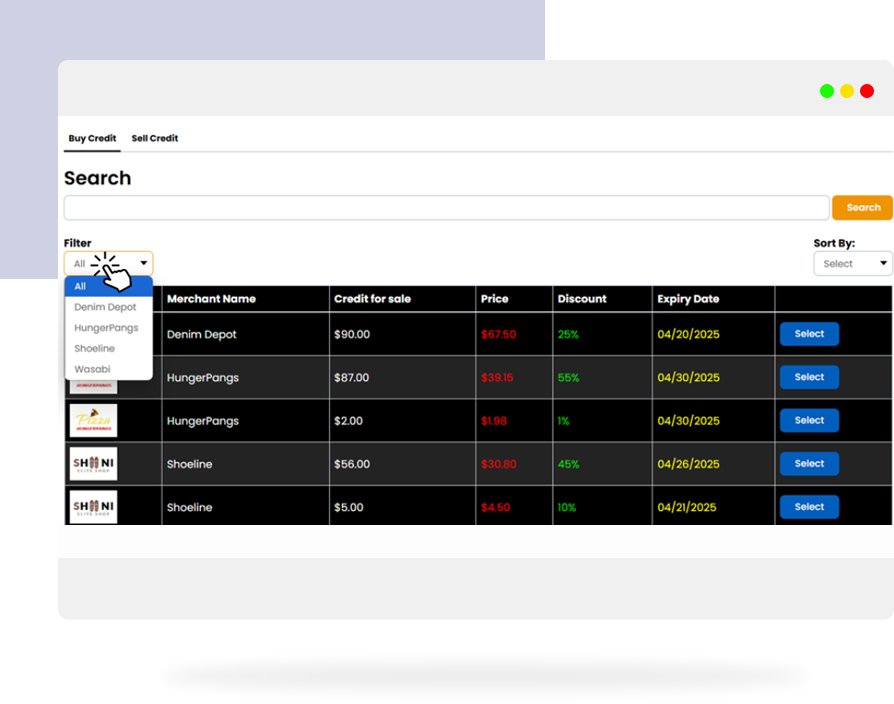
05 Use the Filter Dropdown to Refine Your Search
Looking for credits under a specific category or deal type?
Click the “Filter” dropdown menu to narrow down your results:
- Filter by Merchant Type (Retail, Food, Apparel, etc.)
- Location preferences
- Credit validity windows.
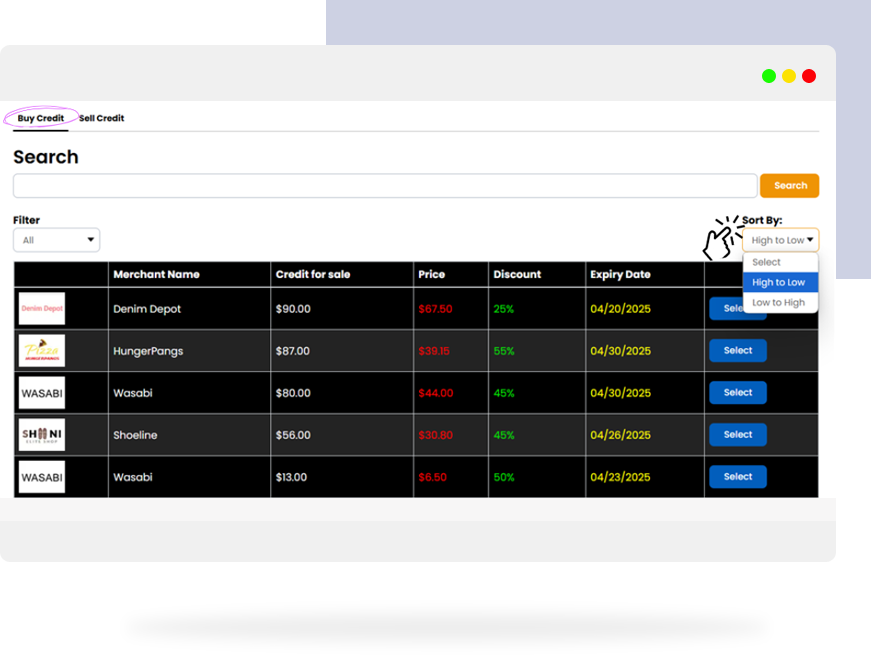
06 Sort the Offers by Price
Need the best deal? Of course, you do.
Click on the “Sort By” dropdown and toggle between:
- High to Low (premium credits or large-value bundles)
- Low to High (great for quick steals or limited-use credits)
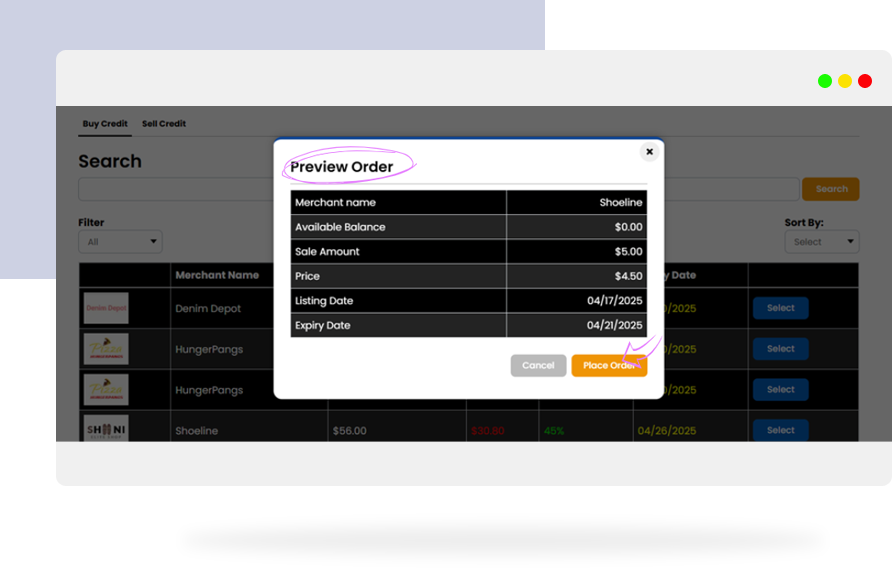
07 Select & Preview the Offer
Found a match?
Hit the ‘Select’ button beside the offer. You’ll get a detailed preview of:
- Merchant name
- Credit value
- Seller info
- Validity period
- Terms, if any
When ready, go ahead and place your order.
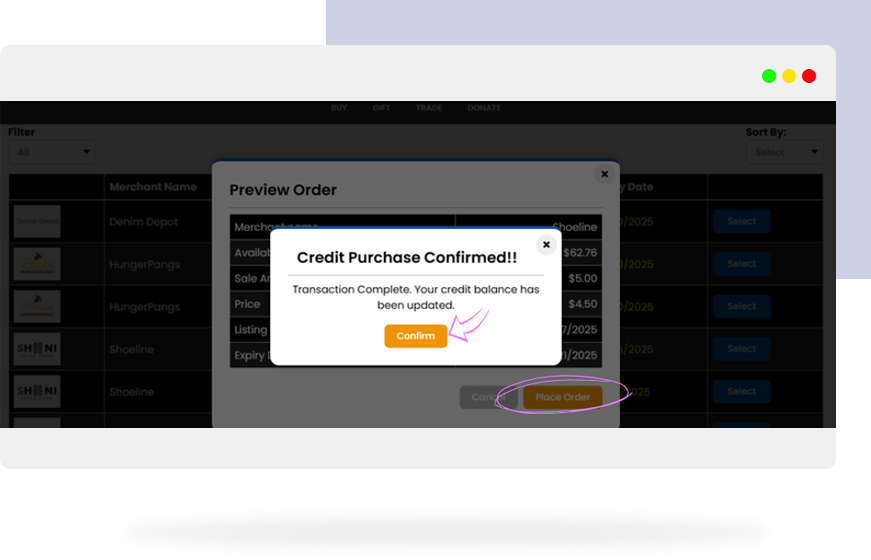
08 Confirm Purchase
Once the order is placed, you’ll see a “Credit Purchase Confirmed” message pop up.
That’s it — you now officially own those credits.
You can:
- View them under your Wallet or Credit Dashboard
- Start shopping immediately from the brand
- Track the transaction with full transparency
Why You’ll Love It
Trading credits isn’t just a feature — it’s a financial mindset shift.
You’re in control:
- Access real-time peer offers
- Shop what you actually want
- Recycle unused credits back into the ecosystem
- Save, trade, and grow value with a community you trust
Ready to Pay It Out?
Head to the Trade Page on OnestPay™
Start exploring, buying, and saving with credit trades made simple.
And remember — it always pays to pay with OnestPay™.